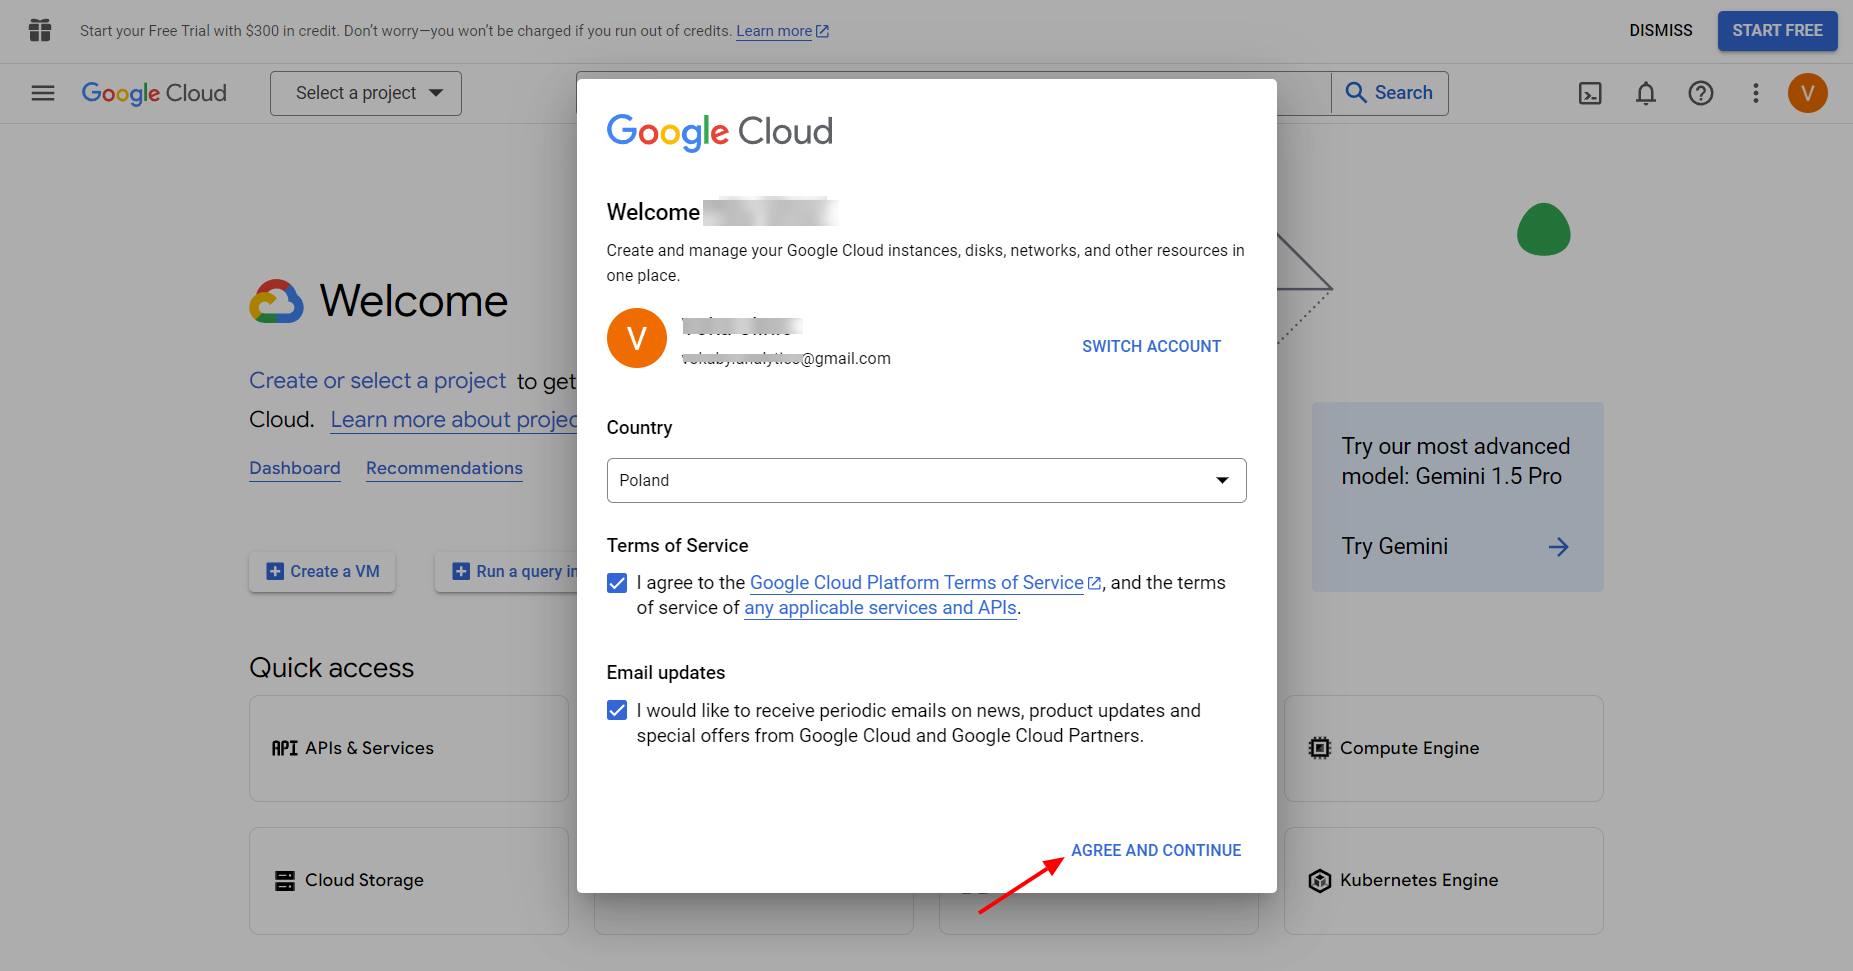
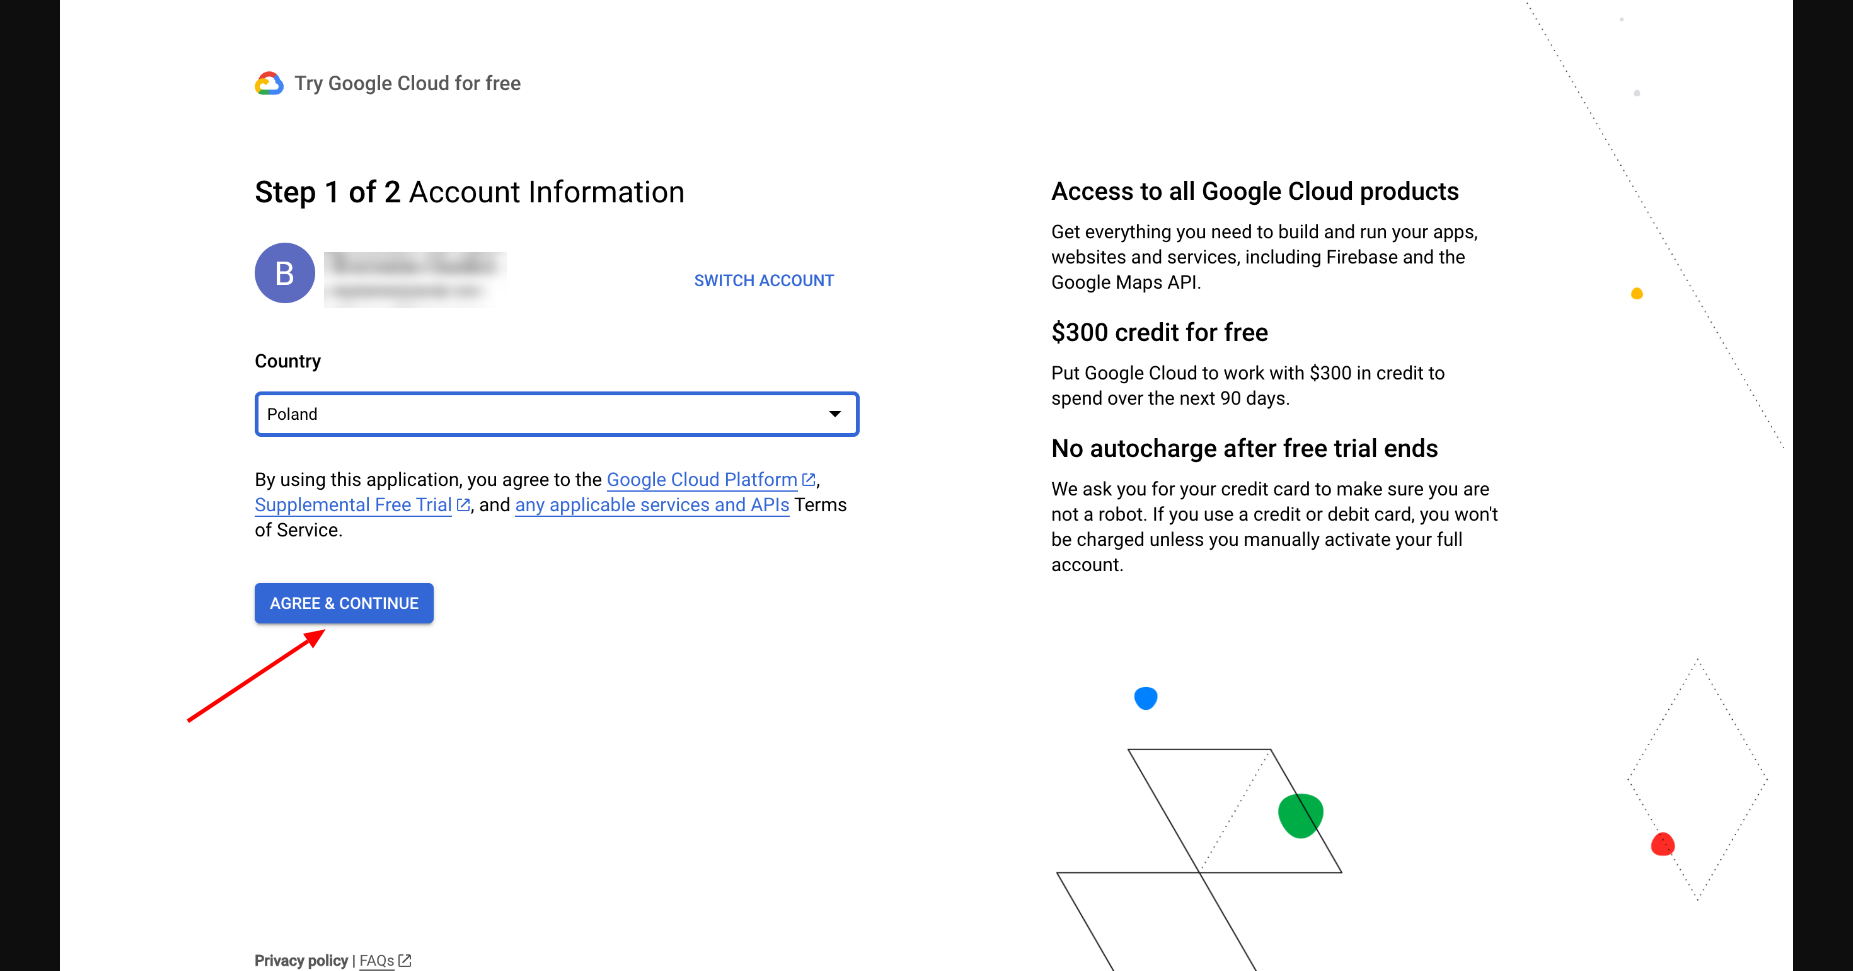
Open Google Cloud Console and log in to your account. You will see a welcome screen. Select your country and accept the terms of service.
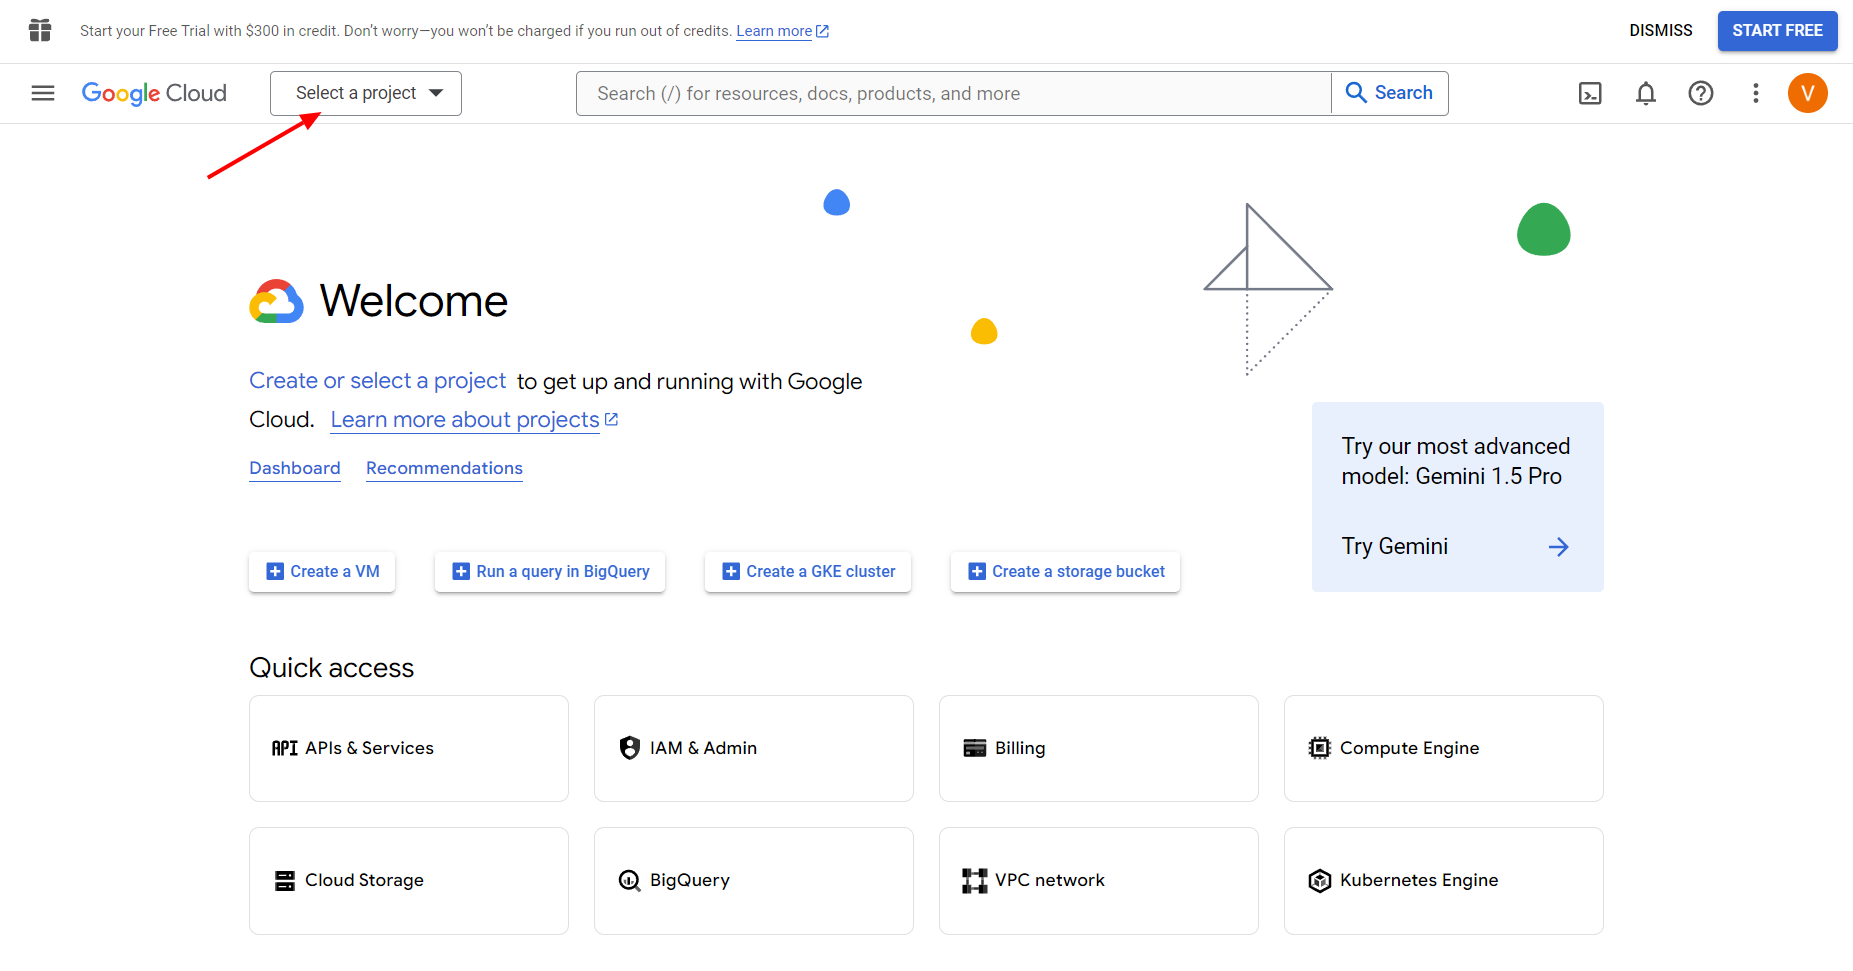
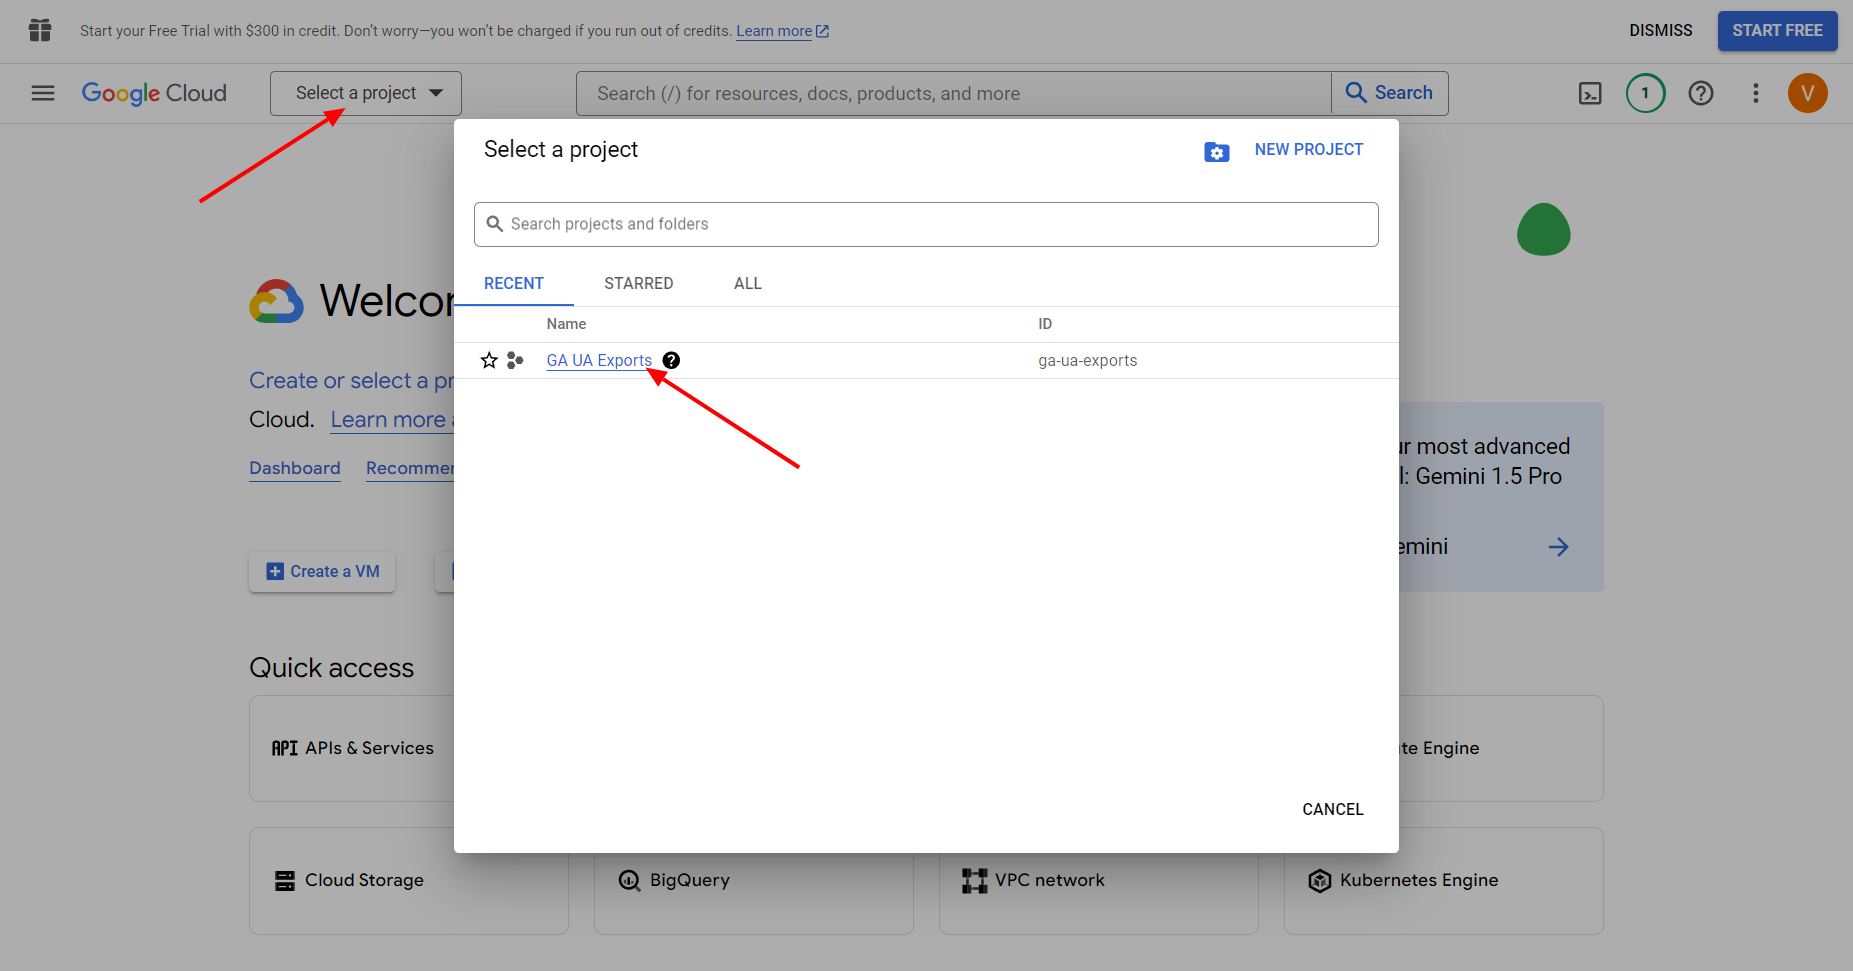
At the top of the screen, click on the "Select a project" button.
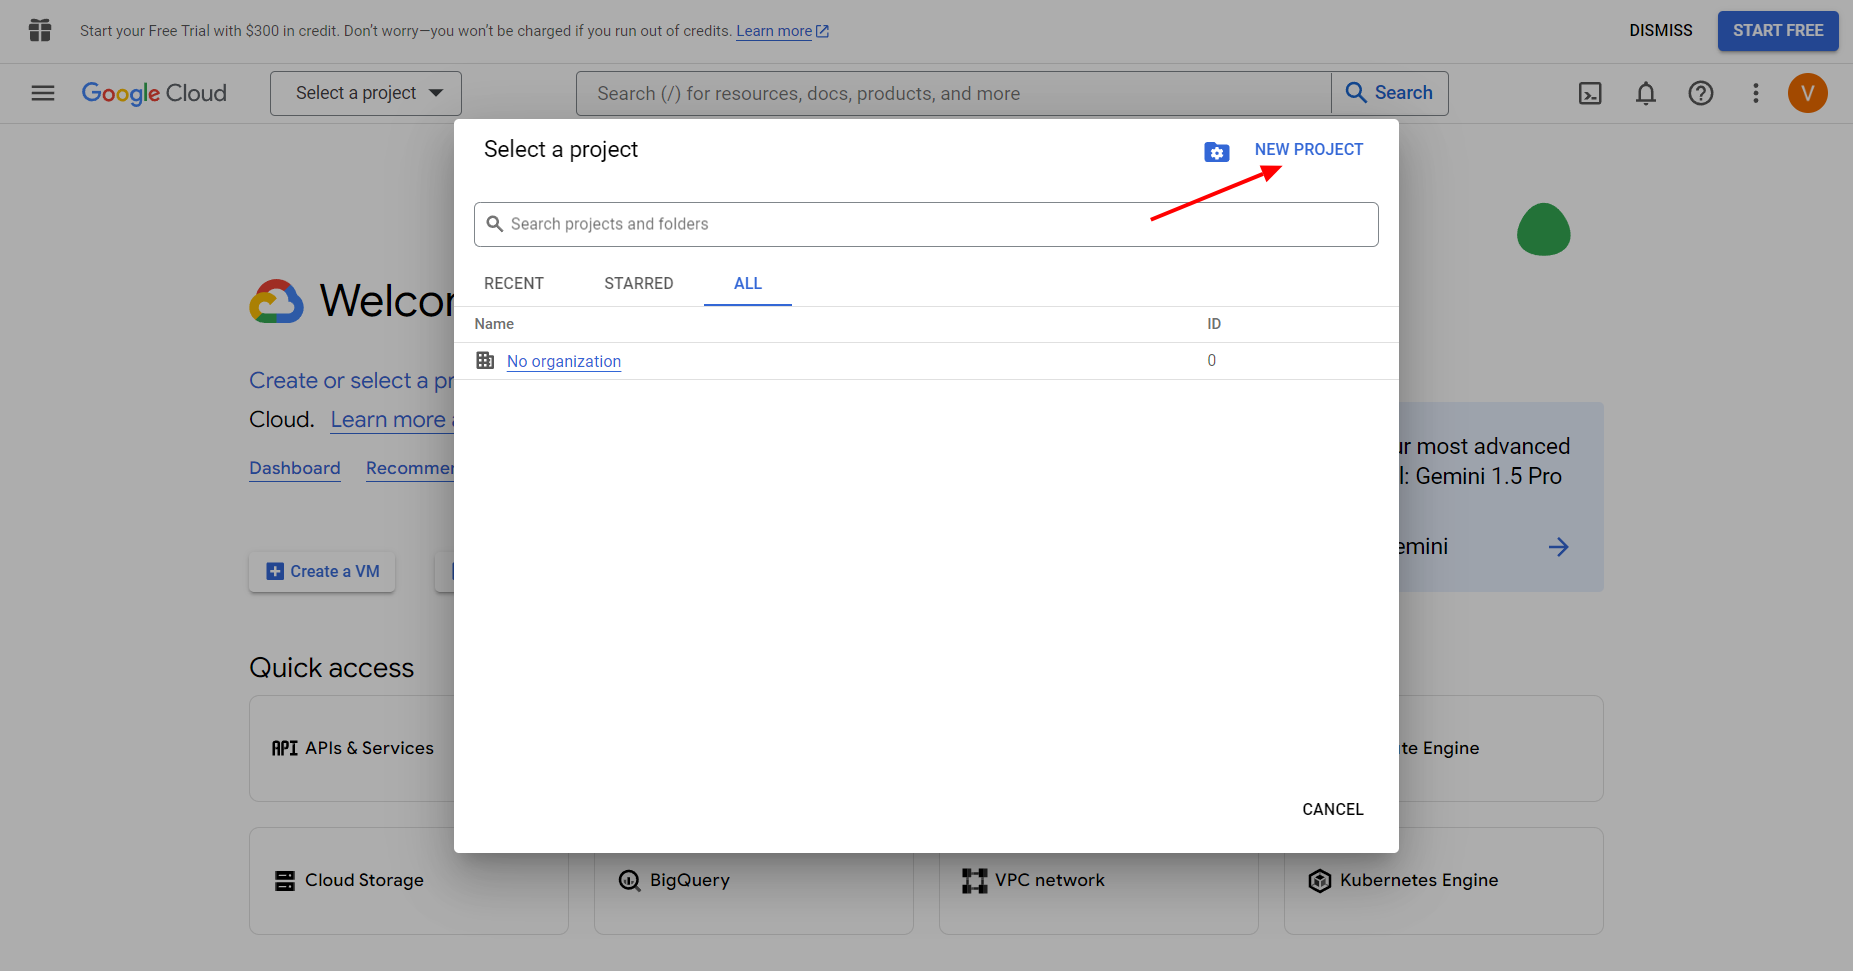
In the window that opens, click on the "NEW PROJECT" button in the upper right corner.
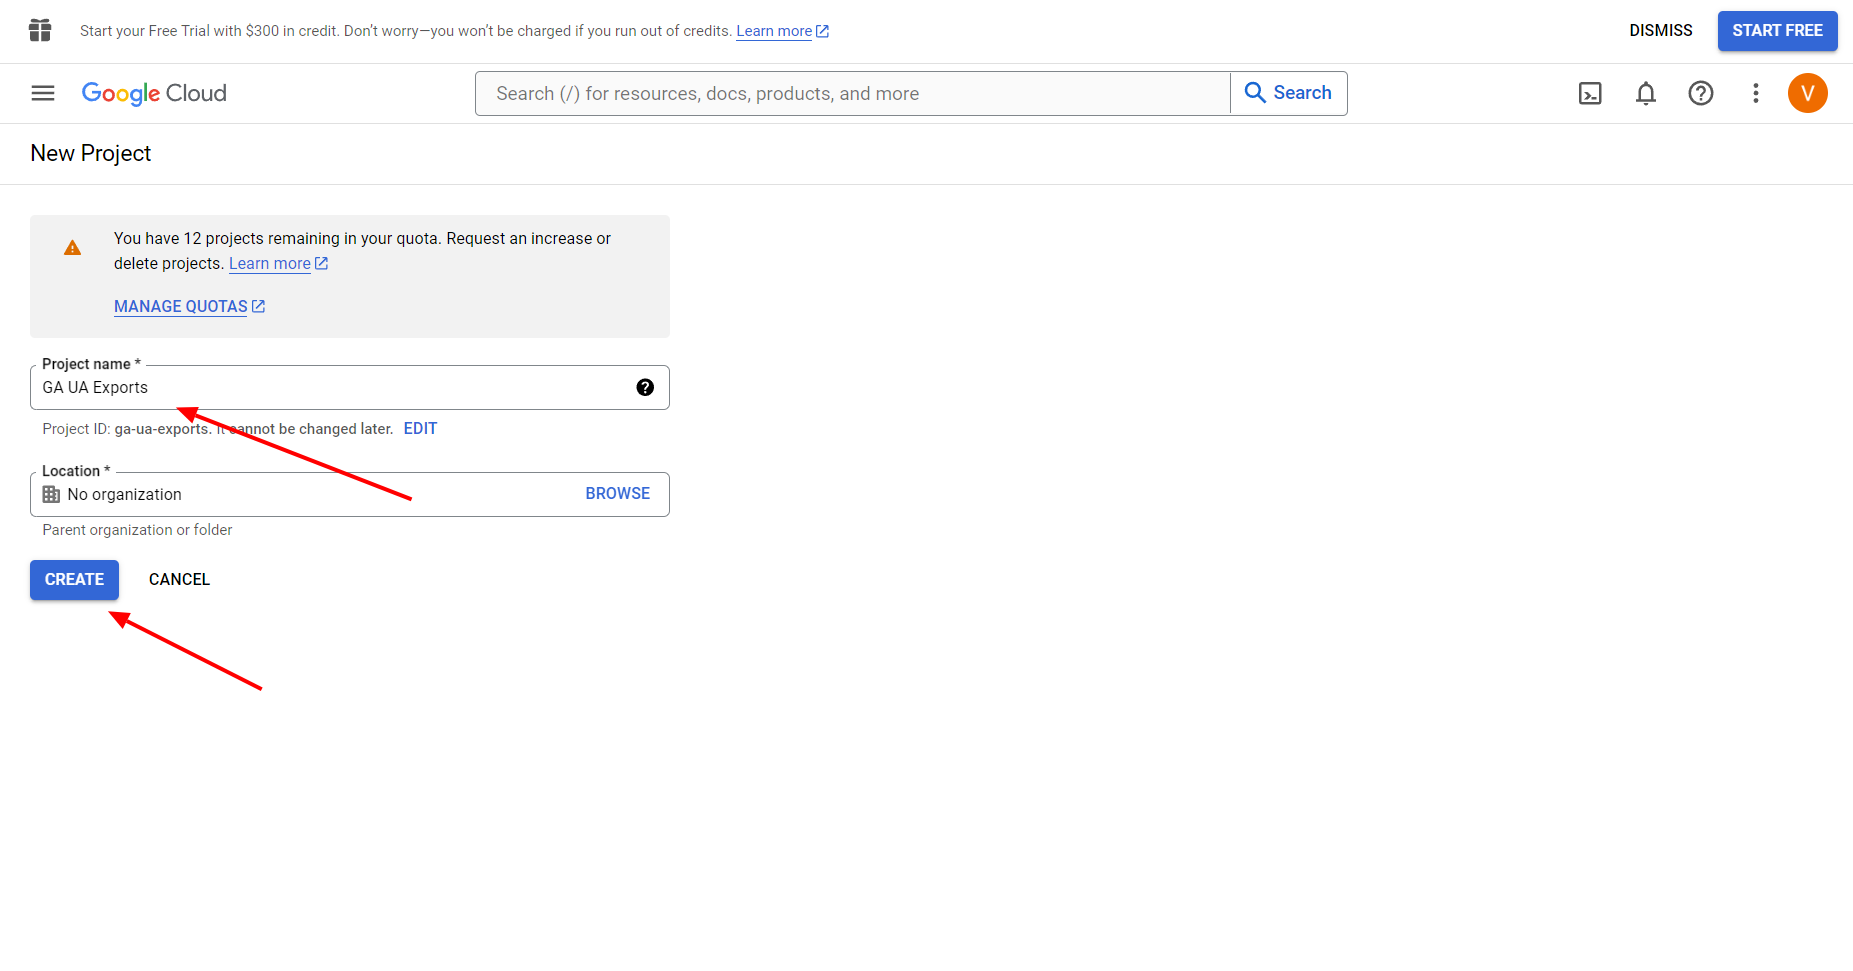
Enter the project name (e.g., "GA UA Exports") and select an organization or leave it empty if it's a personal project. Then click the "CREATE" button.
After creating the project, select it from the list of projects by clicking on its name.
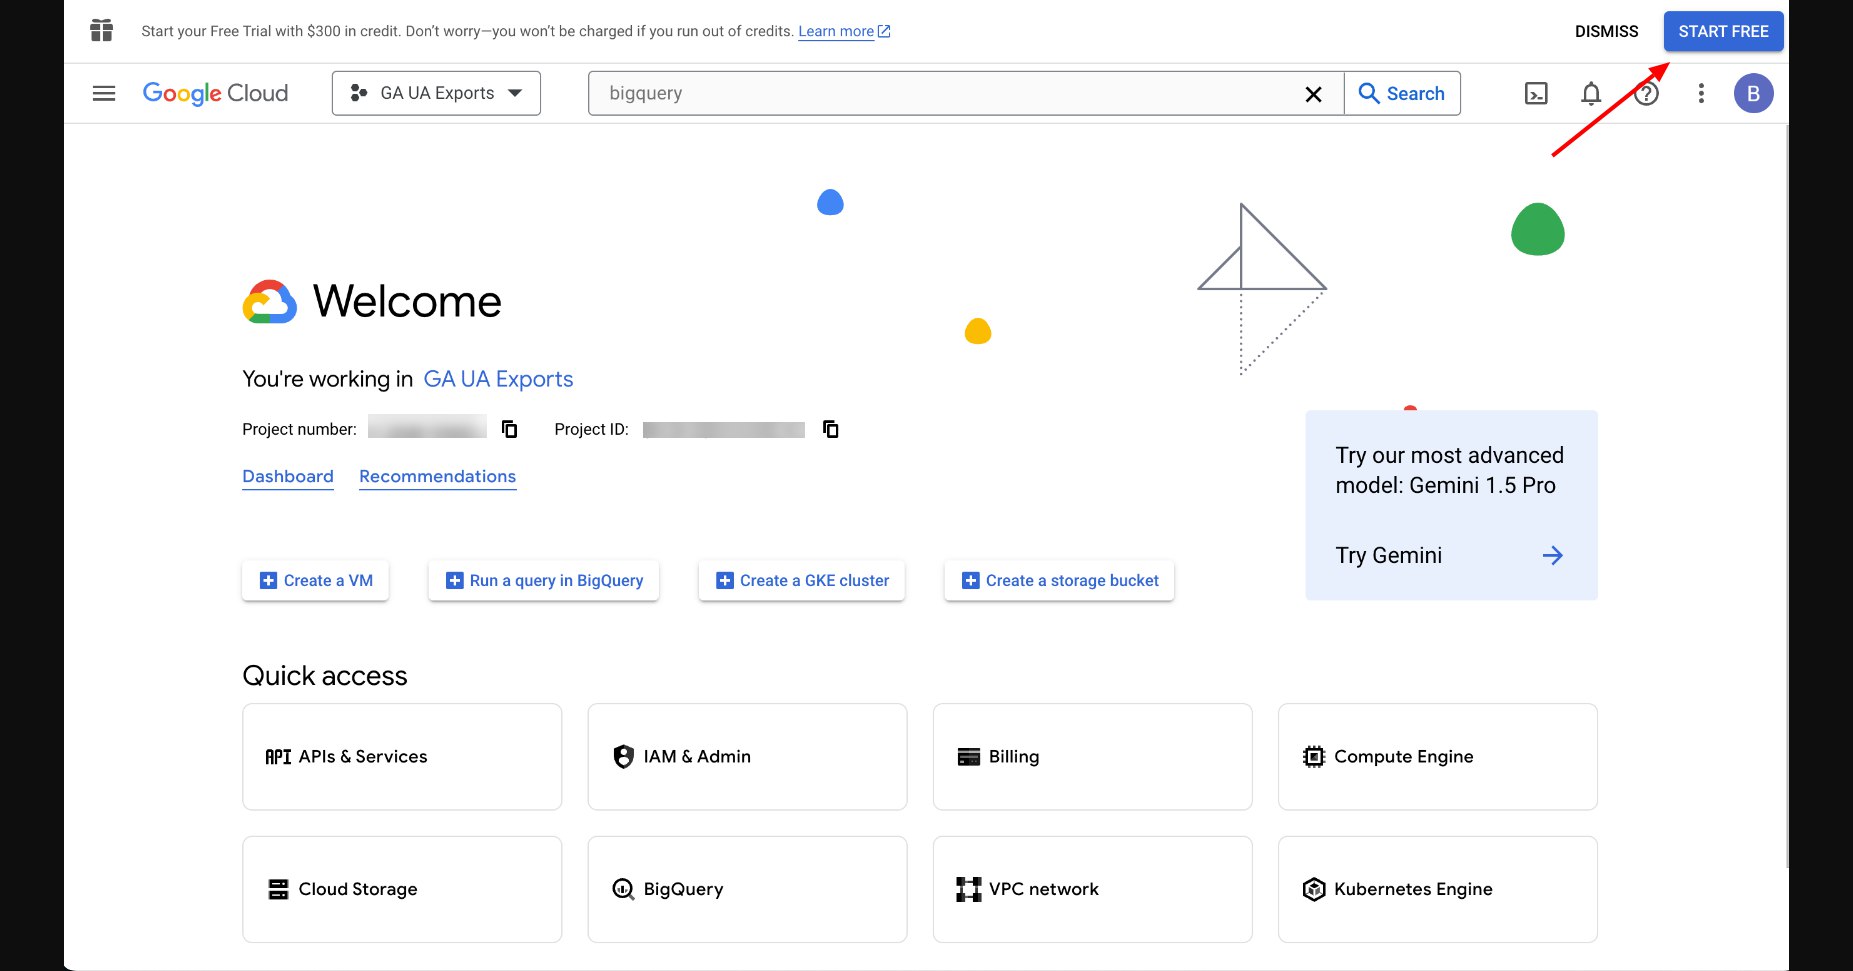
Open Google Cloud Console and log in to your account. You will see the welcome screen indicating your active project. Click on the "START FREE" button in the top right corner to begin the activation process.
You will be prompted to provide your account information. Select your country from the dropdown menu and agree to the Google Cloud Platform terms of service. Then click "AGREE & CONTINUE".
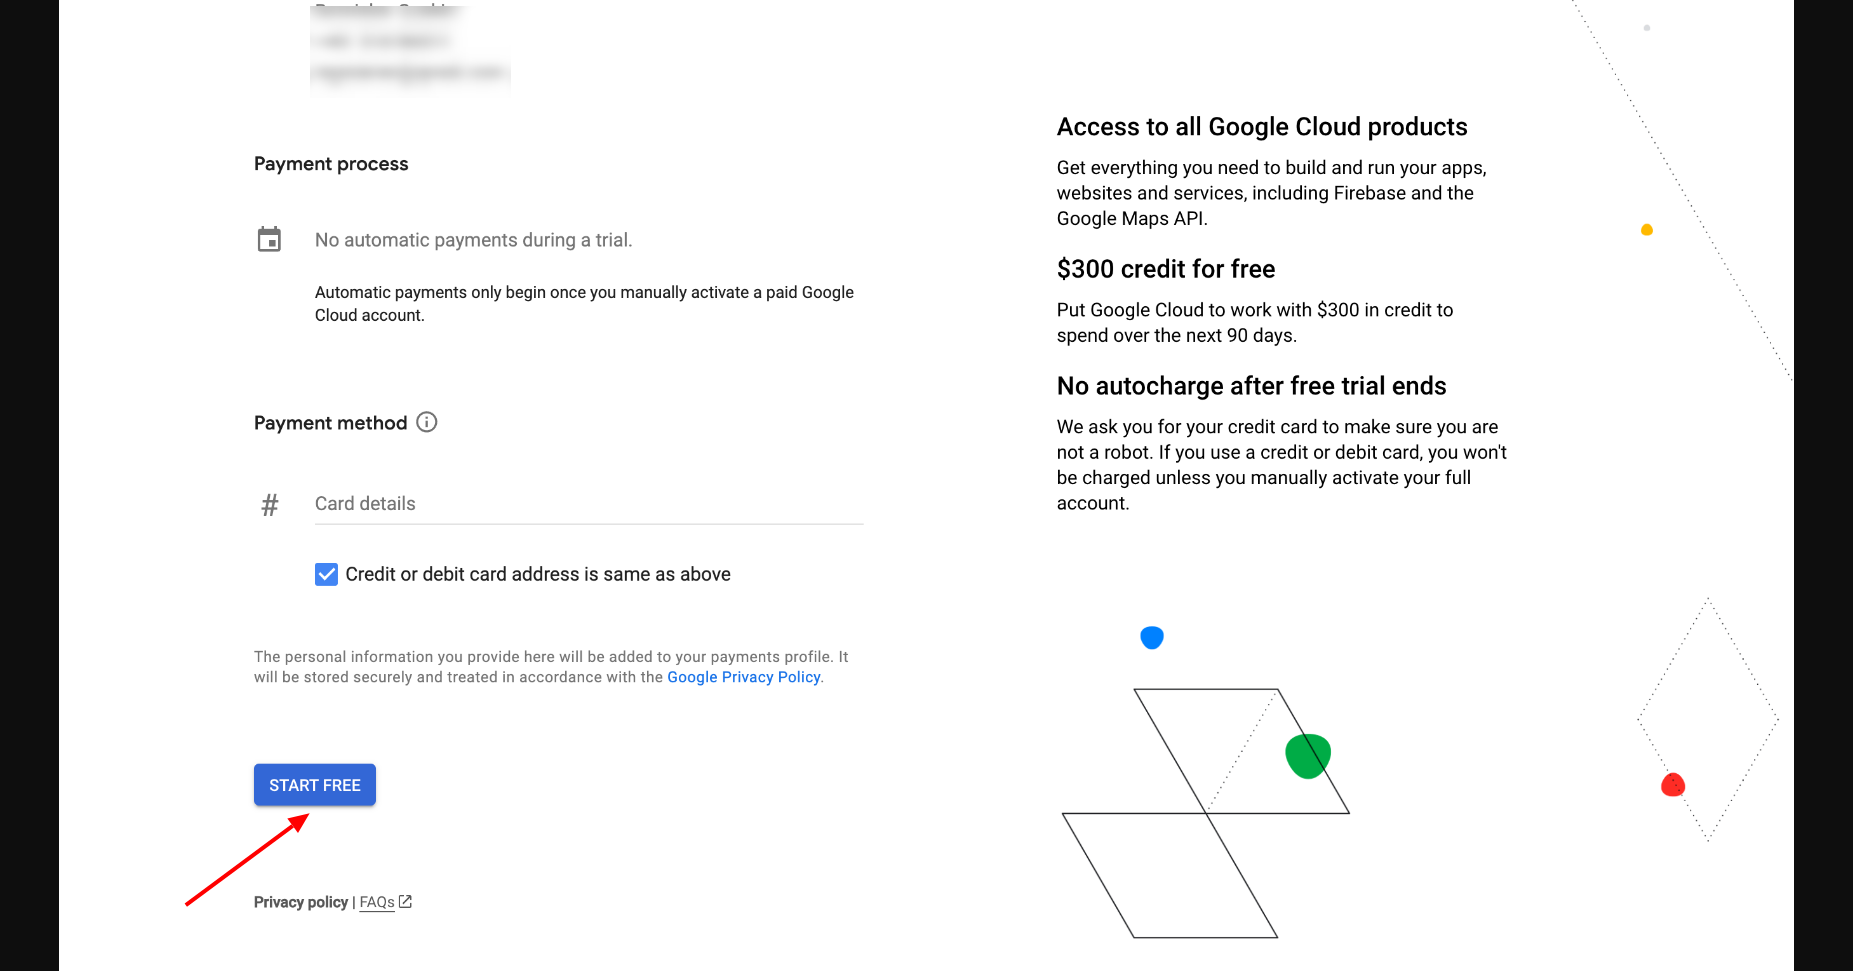
On the next screen, you will need to provide your payment information. Note that no automatic payments will be made during the trial period. Fill in your credit or debit card details and make sure the address is correct. Then click "START FREE".
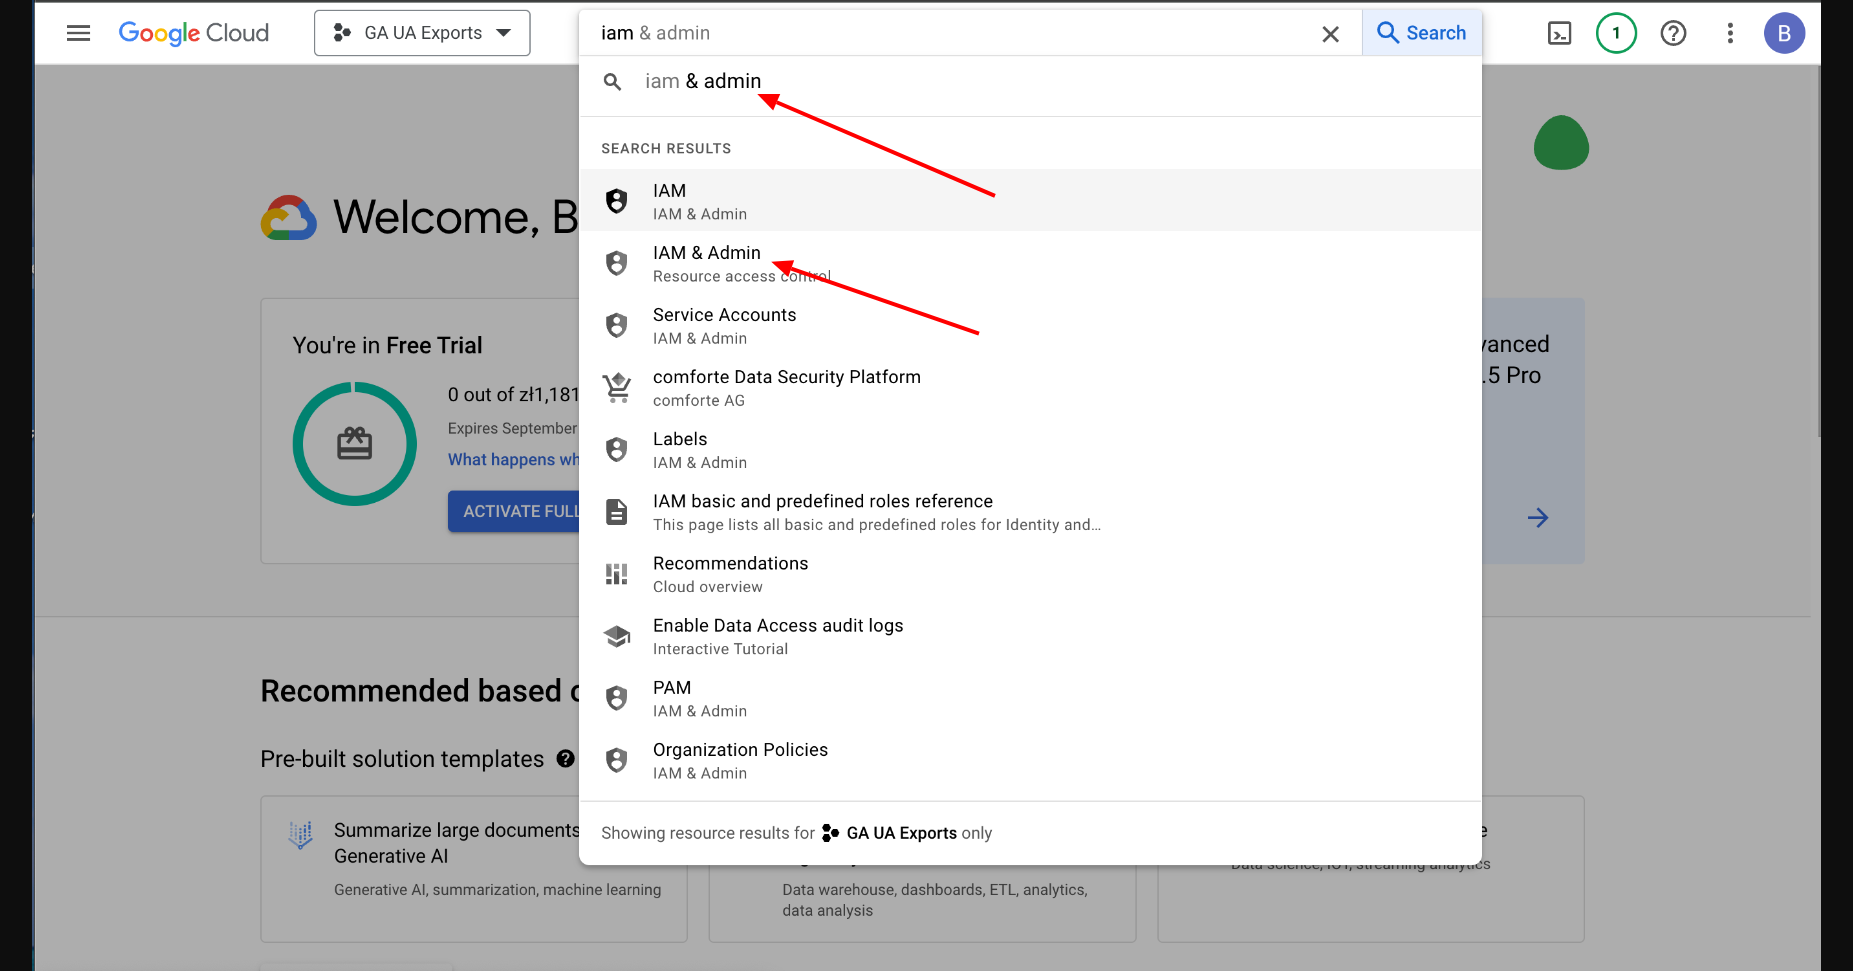
In the Google Cloud Console, use the search bar at the top to search for "IAM & Admin" and select it from the search results. In the IAM & Admin section, click on "IAM" in the left-hand menu.
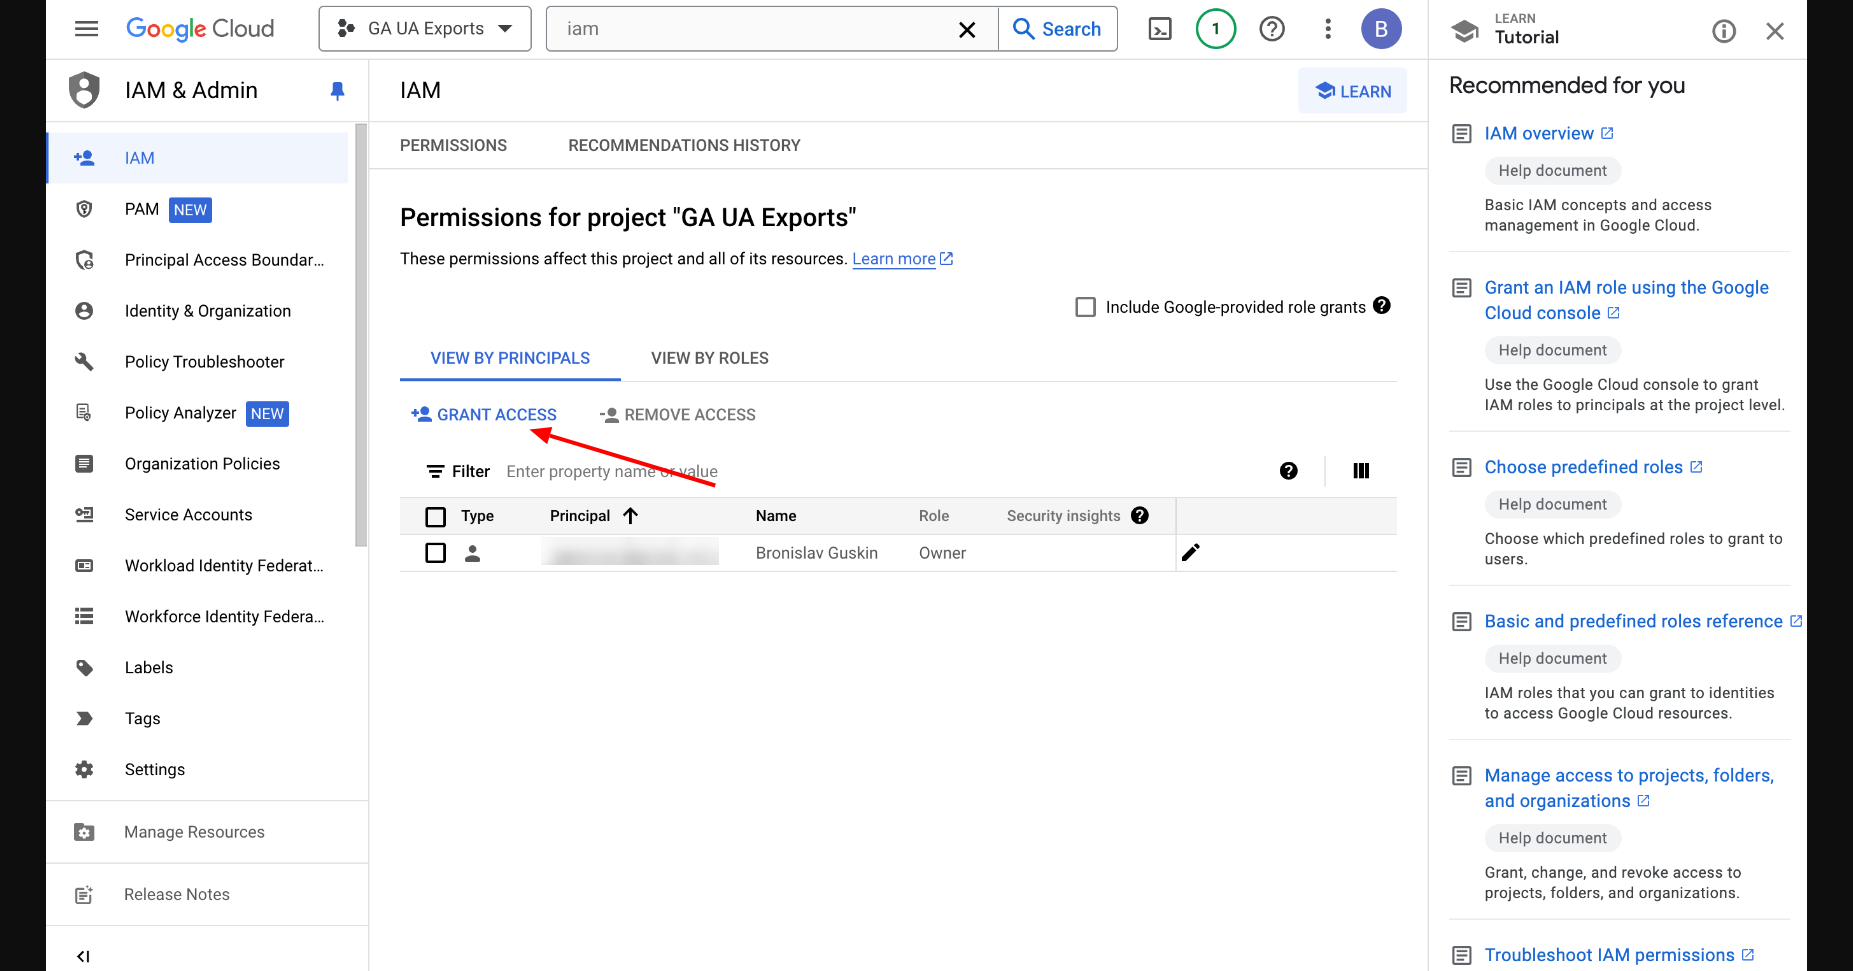
On the IAM page for your project, click on the "GRANT ACCESS" button.
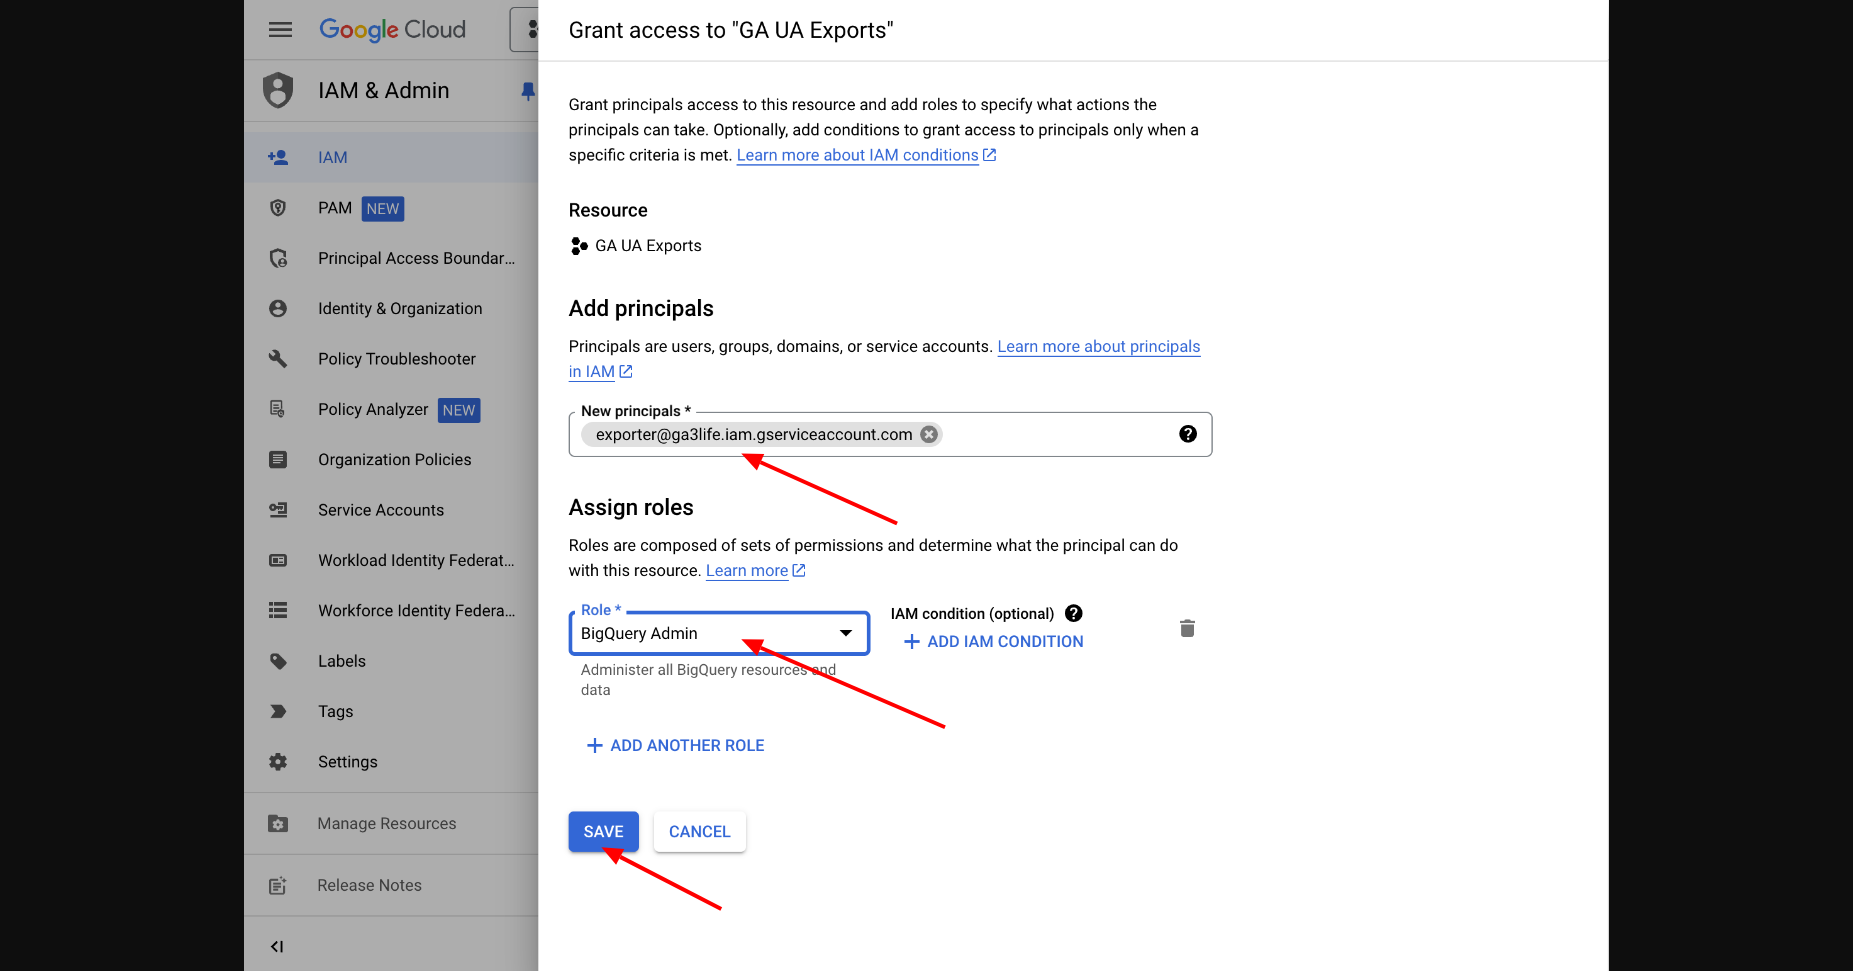
1) In the "Add principals" field, enter the email of our service account: exporter@ga3life.iam.gserviceaccount.com
2) In the "Assign roles" section, click on the dropdown menu and select the role "BigQuery Admin". This role allows the service account to manage all BigQuery resources and data.
3) Click the "SAVE" button to apply the changes.
